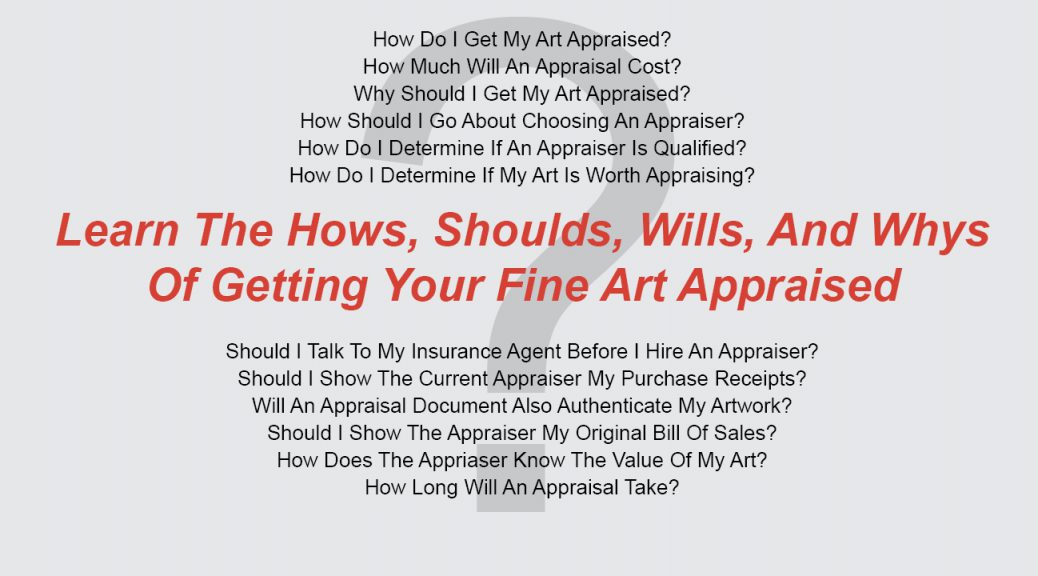
In gathering information to write this post, I was shocked to discover that anyone can legally present themselves as a personal property appraiser. There is no governmental license, proof of knowledge, or certification required to appraise personal property. Fortunately, there are several property appraisal organizations that set standards and self-police their membership to be sure that each member is qualified to properly appraise their field of expertise. If your insurance provider has asked you to get your artwork professionally appraised, or you need it evaluated for some other reason, How Do I Get My Art Appraised will help you find a qualified appraiser, fully understand all aspects of the appraisal process, and prepare you for what a professional fine art appraisal is likely to cost.
To this end I have divided this post into three main parts:
Part One
Keeping Gifts to Museums Tax Deductible: is a brief history of how the Art Dealers Association of America helped to clean up the appraisal business.
Part Two
Before You Call a Professional Appraiser: provides suggestions on how to inexpensively determine what your artwork might be worth before calling a professional appraiser. It also provides short reviews of 4 of the most often used auction databases and the least expensive way to independently access them.
Part Three
An Interview with a Professional: is an in-depth interview with Christine Guernsey, a past president of the ISA (International Society of Appraisers). Because Christine answered each of my questions in great detail, I grouped her answers into five sections. The first four sections cover general topics and the fifth involves questions about how an appraiser works, and how they would handle different appraisal scenarios. Following are the five sections:
-
-
-
-
Appraisal Types
-
Appraiser Qualifications
-
The Written Appraisal (What to Expect)
-
What Does a Professional Appraisal Cost?
-
General Questions about Appraisals and Appraisers
-
-
-
PART ONE:
Keeping Gifts to Museums Tax Deductible
In 1962, the IRS was about to remove the income tax deductibility of artworks that were donated to museums because of inappropriate appraisal overvaluation. The long-term ramifications to museums’ ability to build their collections through gifting was obvious, without this incentive, few collectors would opt to donate or bequeath their collections.
An attorney/collector named Ralph F. Colin and a group of New York City’s leading art dealers who had just formed the Art Dealers Association of America (ADAA) engaged the IRS to help find ways to address this appraisal issue. They proposed to the IRS that this new organization, made up of many the most knowledgeable and respected art dealers around the country, could help to establish consistent standards for evaluating the fair market value of artworks. The IRS came to view the ADAA’s appraisals as reliable, and as a result, the art collectors’ ability to financially benefit from their donations was preserved.
Today, with over 180 members, the ADAA has expanded its appraisal services from donation to also include estate tax, gift tax, and insurance. The organizations high standards of membership, commitment to scholarship, and the ADAA Foundation grant program benefitting art organizations and museums make it the most respected dealer organization in the country.
PART TWO:
Before You Call a Professional Appraiser
How do I determine if my art is worth appraising?
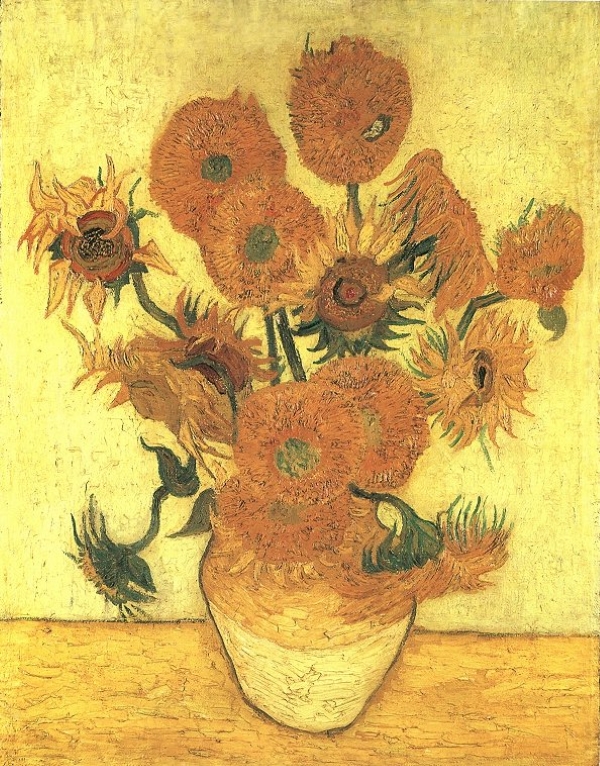
Over the years, I have spent a lot of time on the phone trying to help people determine if the painting they found in a garage sale is worth anything. In March of 1987, after Van Gogh’s Sunflowers sold for just under $40,000,000 at Christie’s, more than triple the amount of any work that had ever sold at auction, I received no less than 5 phone calls from people who had found another copy of the painting in a closet, under a floorboard, etc. I took no pleasure in having to explain that they had one of the many reproductions of the painting and their hopes of having won the art lottery was only a lovely dream. If I had five people call me, I wonder how many other dealers and appraisers received calls from other expectant lottery winners?
Christine Guernsey, a professional appraiser whose interview appears in Part 3 of this article, indicated that a professional written appraisal of a single artwork would at a minimum cost $450 and would more realistically cost between $600 and $800. This means that when your insurance agent suggests that you have the $4,000 painting you have listed on your personal inland marine policy appraised, to see if the value has gone up, they have not done you a favor. That is, unless you happen to know that a similar work by that artist has just sold for $25,000 at auction. The problem is, of course, how will you know that happened unless you have it appraised?
There are inexpensive ways that can help you determine if an appraisal of your artwork is warranted:
-
-
- If you purchased the artwork from a local gallery, they will probably be happy to let you know if its value has gone up significantly. And if the artwork has, they may even be willing to write you an updated insurance evaluation for free. However, do not expect them to appraise any works you had not purchased from them.
-
-
-
- If the original source of the artwork is not available to help you, Google is your next best bet. If you are unable to find the artist by searching their name, followed by the word “artist”, or other such identifier, in the “All” category, go to “images” and see if you find an artwork that looks like it might have been painted by the same artist. If you find a gallery in the results that currently represents the artist, they will probably not be willing to appraise the work, but they may be willing to let you know the price they are asking for a current work by the artist of a similar size and type. This will not provide you a written appraisal but will let you know if an update appraisal might be warranted.
-
-
-
- If you did not acquire the artwork through a gallery and cannot find similar works online, you may need to take the work, or send photo’s, to an auction house and tell them you are interested in selling the work. If they show interest and provide you with an estimate, you will have an idea of what they believe the value to be and if their estimate is high enough, you may want to turn the work over to them to sell. If they say it would be better if you find another avenue to sell your work, it is probably not worth appraising. Auction houses sometimes have free evaluation days, so if you have one in your area, it is worth a call to find out if they have one scheduled.
-
-
-
- If you know the artist’s name, you can use one of the auction databases (listed below) that appraisers and dealers subscribe to. These websites compile results from many auction houses and show not only the results of past sales, but also estimates of works that will appear in future sales. Many of these sites have been collecting data since the late 1980’s. (You can also use most auction houses’ website search fields to see if works by your artist appear, but it will require a lot of searching.) If your artwork came from a contemporary art gallery selling work by local artists, don’t expect to find it in an auction database. Although, if it is a secondary market work, you may find other works by the artist that have sold at auction, and there is a slim chance that you may find that your work has gone through auction before you acquired it. If it is a fine print by a well-known artist, it is likely that you may find another impression of the same print that has been auctioned previously. By using these databases, what you are really looking for are comparisons to see if a like work has sold at auction to determine the probable value of yours.
-
The following are four art databases that can be used to review the artworks in your collection to determine if you need to have them appraised. The information in each database will differ as each gathers their information using a different paradigm.
Invaluable
According to my Google search, Invaluable is, “…the world’s largest online marketplace of fine and decorative arts, antiques, and collectibles, featuring a live online bidding platform that allows collectors and dealers to bid in real-time in auctions held around the world.” They provide 15+ years of auction results of art sold through their online platform which is easily accessed from their footer menu. They used to show the auction estimates for free on their site but have stopped this practice. This is the only database of the four that includes limited edition (reproductive) prints in addition to fine prints. You can access the sale prices of all items that have sold on invaluable by purchasing a day pass in the Professional column for $29.95.
Askart.com
If you are researching a painting, drawing, or sculpture (they do not have fine prints) Askart is a good place to look. They gather information from over 979 auction houses from around the world. You can easily see how many works are in the database by a given artist, but you will only be given access to the data by creating an account. They offer a One-day pass to use all their site’s features, with unlimited access to their database, for $19.95. Askart’s features include artist signature examples and charts that will show an artist’s auction sales from many points of view.
Artprice.com
I have never used Artprice personally, but I was very impressed with its user interface and their video tutorial that appears to be an excellent introduction to using their search tools. According to its website, you can “Search 802,300 artists and 15,579,900 auction prices, 1,047,900 artworks listed for the past 12 months, from 6,500 auction houses around the world”
Based in France, Artprice appears to employ all the advanced features you would need to generate price comparisons and offers a one-day pass of unlimited searches for €34, or, at the writing of this post, around $37. You will also be able to see how many works filtered by medium, the database has by your artists of interest, before you commit to purchase a pass. Fine print sales are also included in the Artprice database.
Artnet.com
As I recall, Artnet.com’s database of fine art auction sales was one of the first on the market to cover not only paintings, drawings, and sculpture, but also fine prints and multiples. My gallery has used this database for years and continues to subscribe to it, primarily because we were familiar with its user interface which they are currently in the process of updating. Because Artnet’s version of a One-day pass does not actually allow a days use of the database as the other sites do and because they limit the user to only 5 restricted searches for $32.50, I would not recommend it for a non-professional user. I am hoping, along with their user interface update, they will change their “day pass” policy to be more inline with their competitors.
PART THREE:
An Interview with a Professional

The ISA (International Society of Appraisers), one of three major property appraisal organizations, was founded in 1979 to set rigorous standards of certification for property appraisers. To help demystify the world of property appraisals as they pertain to fine art, I interviewed Christine Guernsey, owner of Guernsey and Associates. Christine was National President of the ISA from 2015 to 2017 and served on its executive board of directors from 2011 through her term as president. She has had over 20 years experience as an appraiser and co-edited the ISA’s manual for appraising fine art. Christine’s fields of specialization include 19th and 20th century American and European paintings, works on paper, sculpture and collectables, regional and early Texas art, contemporary art, outdoor public sculpture, and American fiber art. Her appraisal practice services primarily higher end art collectors but most of her answers can be universally applied.
1. Appraisal Types:
What reasons would a person have to need an art appraisal?
There are many reasons someone would need an art appraisal. Probably the biggest reason for an art appraisal is insurance against damage or theft. But there are other reasons as well, such as settlement of an estate, donating a piece or collection to an institution, equitable distribution in a divorce, or wanting to know an accurate market value before selling a work.
Please discuss how the values for the different types of appraisals may differ and why?
An object can have different values, depending upon the function of the appraisal. For instance:
Replacement Cost Value is used when a collector needs an appraisal for insurance coverage.
An insurance appraisal seeks to provide an estimated cost of what a collector would require to make the collector whole again if their art is ever damaged or stolen. Using the cost approach methodology, value is estimated by what it would take to replace a unique item with a very similar artwork, or if the artist is living, to produce a duplicate work, or what it would cost to repair an artwork to bring it back to its original state before damage. Replacement cost value can include tax, shipping, and installation. Replacement cost value is usually estimated using dealer private sales or gallery/retail asking prices. It is often one of the highest cost values.
Fair Market Value is used when a collector is settling an estate, needing equitable distribution, or making a charitable donation.
It’s a value defined by a legal or regulatory jurisdiction and varies with individual jurisdictions. For federal use in the United States, such as charitable donations and estate or gift tax, fair market value is defined by “the most probable price at which property would change hands between a willing seller and a willing buyer, neither being under any compulsion to buy or sell, both having reasonable knowledge of all relevant facts, with the sale being made public in the most relevant market, taking into consideration the location of the property”.
This means that an appraiser determining fair market value, is looking at comparable examples of similar works which have sold within the last five years before an appraisal’s effective date. For items valued over $20,000, an appraisal prepared by a qualified appraiser is required to accompany the client’s tax return.
Market Value is similar to Fair Market Value.
It is the value most often sought if someone is thinking about selling a work. It is the most probable amount of money a buyer would pay, and a seller would receive within an identified market and within a timeframe.
It is very similar to fair market value. In market value, there is an assumption of a sale within a specified period of time. In cases where fair market value is used the assumption of sale is more hypothetical and doesn’t need to be consummated.
Please explain what a “loss-on-value” evaluation is and how it would relate to the following two scenarios?
Scenario 1

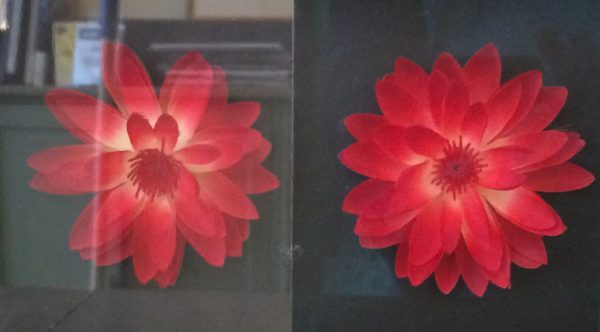
Say you are appraising a large minimalist lithograph by Ellsworth Kelly of a red shape on an off-white paper sheet where a flat red ink was used to create the red shape. The appraiser sees a non-reparable one-inch-long buffed line in the otherwise pristine red shape that reflects light differently than the rest of the mat red field from wherever a viewer is standing. If you have determined that the print is worth $10,000 in pristine condition, please explain how you would go about establishing a current market value for this Kelly print.
Scenario 2
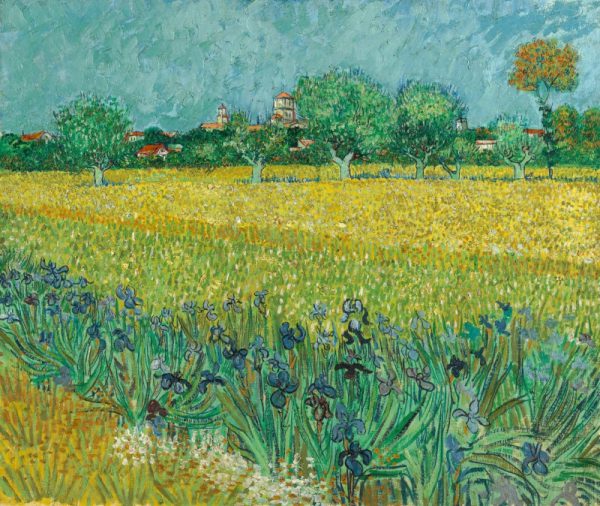
You are asked to appraise an Arles period Van Gogh painting that you have determined in perfect condition would be worth $50 million. This painting had a hole poked in it causing approximately one square inch of total paint loss and damage to the canvas underneath. How would you go about establishing a current market value for this Van Gogh painting?
Condition is the very first thing I look for when inspecting a work! The condition of a work plays a large part in the final value assignment. If a work is in pristine condition, especially for its age, it would have a higher value than a work with a lot of craquelure issues or paint loss.
The situations you are asking about, would most likely need damage appraisals looking for a loss-on-value also known as “diminution of value,” to help settle insurance claims after damage has occurred. This type of appraisal is different from a normal insurance appraisal where one is looking for a replacement cost value to make a client whole again if the artwork is ever damaged or stolen.
A loss-on-value insurance appraisal assesses the degree to which an item has lost value because of damage and subsequent professional repair/restoration. Mathematically, the loss-on-value of an item equals the difference in the market value of the artwork prior to the damage, and the market value of the property after the damage has been repaired. Loss-on-value can’t be determined until after a work of art has been repaired. The quality of the repair absolutely needs to be taken into consideration. Typically, the better the quality of the repair, then the lower the loss-of-value, if any. I have had situations where repairs were so good that the collector ended up with works in better condition than they had before the damage.
Loss-on-value of a restored piece is the amount by which a hypothetical seller might reduce the price of an identical or comparable item in order to induce a hypothetical buyer to purchase it.
The situations you describe would take two different approaches. In the case of the Ellsworth Kelly, I would first determine if multiples of that print were still on the market and available. There are a few really good paper conservationists in our area. I have seen them repair and restore items that had been damaged by mold, had areas torn off, scratches to the surface of the paper, etc. They do amazing work. However, if there were multiples still available, I would probably recommend that the print be considered a total loss because of the centrally located damage to the surface and the fact that pristine surfaces are important to this minimalist artist. At that point the insurance company would most likely settle with the collector to provide a full replacement cost value, in order for the collector to replace their print with another comparable item.
If there were no more multiples readily available, I would recommend several paper restorers for the client or insurance company to decide who to go to, and then would follow the process in the above description of how loss-on-value is determined.
In the case of the Van Gogh, I would definitely recommend the client visit with a top painting conservationist to discuss repair options. After the painting was repaired and conserved, I would again follow the mathematics of the loss-on-value formula. Depending upon the quality of the repair and where the hole had occurred, would determine the final market value. Holes directly in the middle of a painting are usually more worrisome than damage in an outer edge.
For an insurance appraisal, (to update the insurance) what guidelines would you recommend a person use to decide if an appraisal is warranted?
Insurance is important and collector’s need to cover what is important to them, whether in a special rider or in their home policy. An ethical appraiser when viewing a collection, can recommend which items probably aren’t worth the cost of appraising. It takes between 3 – 6 hours per item, (start to finish – inspection, research, and report preparation), at an hourly fee to appraise an item. A collector needs to determine whether or not they want to pay for something to be appraised, if the cost of the appraisal will be more than an item’s value.
2. Appraiser Qualifications:
How should a person go about finding an appraiser and what should they do to be sure that the appraiser they have found is qualified to appraise what they have?
Because there is no license required to appraise personal property, collectors should make sure that the appraiser they choose is affiliated with one of the three professional appraisal organizations: the International Society of Appraisers (ISA), Appraisers Association of America (AAA) or the American Society of Appraisers (ASA).
To be a qualified appraising member of these three organizations, an appraiser needs to pass certain educational courses on appraisal methodology provided by the organization, as well as taking the 7-hour Uniform Standards of Professional Appraisal Practice course (USPAP). USPAP is recognized as the ethical and performance standards for the appraisal industry.
After taking the initial 7-hour USPAP course, qualified appraisers are required to take a refresher course every two years. Each professional appraisal organization, while essentially teaching the same methodologies, have various organizational requirements to become accredited and certified. All organizations follow guidelines put forth by the Appraisal Foundation. An appraiser who is certified, has passed the highest level of course requirements as well as the required amount of actual related practicing hours.
In addition to whether or not an appraiser is certified with an appraisal organization and USPAP trained, a collector should review the appraiser’s educational background as well as experience. Does the appraiser have a degree in art history? Have they worked in a museum, gallery or auction house? Experience and education are really the most important key when choosing among accredited and certified appraisers.
What appraisal organizations offer certification and why is that important?
All three, ISA, AAA, and ASA offer program pathways for accreditation of an appraiser. In my organization (ISA), in order to become certified, one has to document 200 hours of appraisal-related experience in the last five years after becoming an accredited member. They also must complete a certification exam based on application theory, principles, methodology, ethics, and report writing standards to real-life appraisal scenarios involving the appraisal functions typically encountered by personal property appraisers. A sample appraisal report also needs to be submitted and reviewed by a committee of certified appraisers. ISA is also the only organization that requires its members to take a re-qualification course every five years.
Hiring a certified appraiser is important so that a collector can be confident knowing that their appraiser understands methodology and can produce a credible appraisal report.
Do these organizations require recertification? (Continuing education)
To my knowledge, only ISA requires its members to requalify every five years, however, all organizations have continuing education opportunities where members can increase their knowledge on different aspects of appraising. All three have annual conferences with two days of continuing education seminars.
3. The Written Appraisal:
Please walk through an appraisal from beginning to end.
When you are contacted what do you usually do to determine if the person who contacted you needs an appraisal?
The first step is always to determine what kind of appraisal they need and how they plan to use it. If they need it for insurance, then we discuss what their insurance company requires and if their policy has any minimum value requirements for artwork. We then discuss when the object was purchased or when it was inherited. We discuss basic information about the artwork(s) they want evaluated such as:
-
-
-
- Who is the artist?
- What is the medium and size?
- What kind of paperwork regarding the art is available?
- Is there a past appraisal?
-
-
Finally, we discuss the process of appraising and what the client can expect from the appraisal before setting up an appointment for the inspection.
If you think an appraisal is warranted on the artworks they have, what are the next steps. Do you have a contract, provide an estimate, and if so, what is the estimate based on?
If I think an appraisal is warranted, I arrange for a free inspection. A free inspection allows me to see exactly what they want to appraise and how many items they actually have. Many times, people will say they have 3 things and once you get there it turns out they found 5 more things in a closet. After reviewing everything they want appraised, I can give them an estimate.
On average, from start to finish, one object can take from 3-6 hours depending on how difficult it is to research. Start to finish means inspection, research, and report preparation. If they agree to go forward, I ask for a deposit for half of the estimated cost and then send them a contract. The contract specifies the works agreed to appraise, the expected deadline for completion, the expected cost, and any specifics for the particular appraisal.
How do you go about examining the artwork and what information do you normally capture?
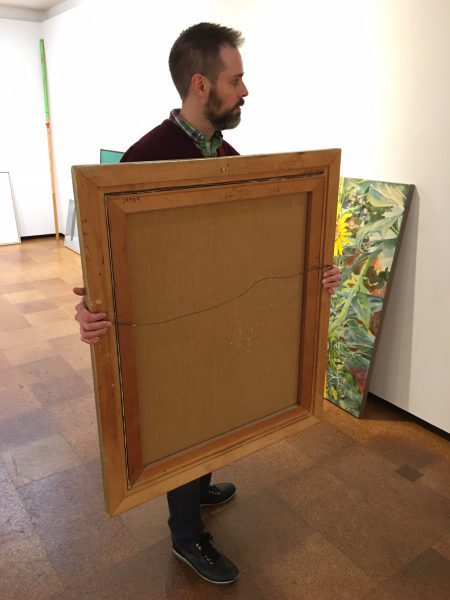
When I inspect, I’m looking at condition. I inspect the front and verso of a work looking at condition, looking for signatures and dates, and any markings and labels for exhibitions. I measure the work and photograph it front and back. These photos are included in the report.

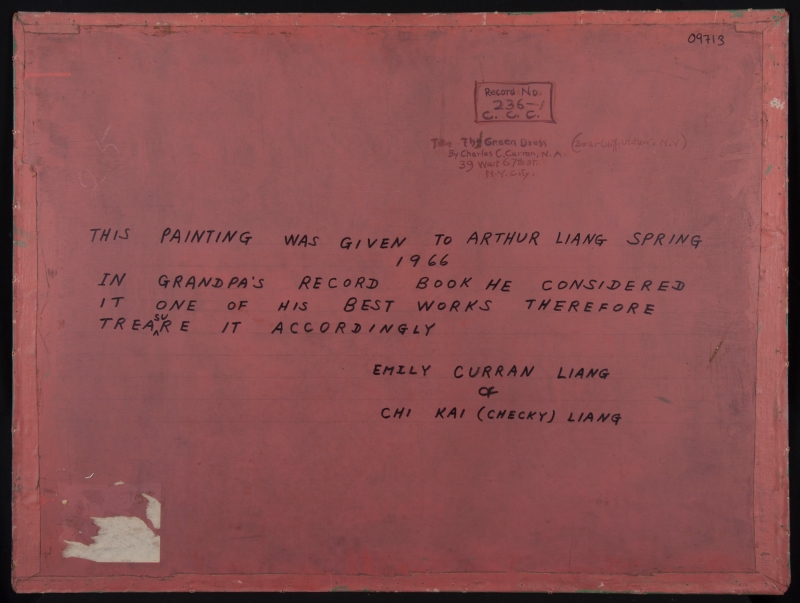
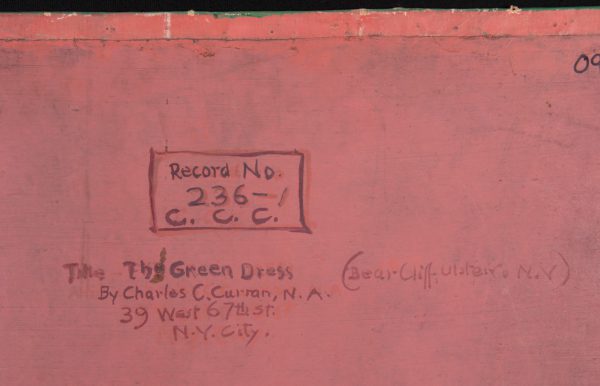
I then ask for any and all documentation they have regarding the art and or whole collection. Do they have a past appraisal? Receipts? Provenance information? This information is used to speed up the research process to help keep appraisal cost down.
Any information gathered which is pertinent to the appraisal is included in the addendum of the report. Receipts and provenance information, previous condition reports or anything of importance regarding the work, are important to include to help support value. These documents can be scanned and inserted into the appraisal report. Scanning and organizing pertinent information in this way, helps the client to keep important and relevant information organized in one spot.
A past appraisal is interesting and provides some preliminary identification information. This helps cut down on some research time which saves the client money. The values on past appraisals are not considered in a new appraisal. Values in a new appraisal are the item’s current values as of the report’s effective date.
How do you go about researching the probable value of the work for insurance?
It depends whether or not the work(s) are in the primary or secondary market and whether or not the artist is deceased or still alive and producing work.
If a work is still in the primary market and the artist is still producing, it’s possible that a work can be replaced by another similar work, repaired, or duplicated by the artist. In these cases, it is the asking price publicly stated by the artist, or gallery that represents the artist, and adjusted depending upon the function and purpose of the appraisal.
In most cases, a work created by a deceased artist is researched by comparing the work against similar items sold at auction or in private sales. Auctions used to be a place where many galleries sourced their works but in the past 15 years, the public has participated in auctions and dealers are sourcing elsewhere. This means that if a work’s market is the auction, then the auction sold prices can now be used for replacement cost. If an artist from the secondary market is in demand and still being sold in a gallery or private sale, then I will talk directly with the gallery director to get information for items sold within the gallery or through private sales.
If it is an item that is still in the primary market, then I go directly to the gallery where they originally purchased the item or if they inherited it, the most common market (or gallery) that they would approach if they needed to replace the work.
What are the elements of the appraisal report you produce and is it different for each type of appraisal?
Every appraisal is unique, but any professional appraisal needs to consist of three main parts: a Cover Letter, the Body of the appraisal, and an Addendum. Following are details on what each part should contain.
Cover Letter:
A cover letter contains specific information about the appraisal and appraised object. It should identify the following:
-
-
-
- The object being appraised
- Discuss the inspection and how it was handled and who was present
- State information regarding the effective date for values
- Who the client is
- Who owns the work
- Who can use the report
- The methodology used to determine the value of the objects
- An explanation of the current art market and what factors played into the determined value
- An explanation of the specific market for the artist(s) being appraised
- The cover letter states up front what the appraised value is. The value is restated on the appraisal summary page as well as in the description of the object in the body of the report.
-
-
The cover letter should explain whether the market has gone up or down for the artist(s) being appraised since the object was first obtained as well as explaining the scope of work utilized within the assignment.
It’s important that the cover letter include USPAP statements by appraisers who are USPAP trained. The purpose of USPAP is to promote and maintain a high level of public trust in appraisal practice by establishing ethical and professional standards for appraisal practice.
An example of USPAP statements are as follows:
-
-
-
- Statements of fact contained in this report are true and correct as given to me by you my client. The opinions stated are based on a full and fair consideration of all the facts presented to me and available at the time of this appraisal.
- The reported analyses, opinions, and conclusions are limited only by the reported critical assumptions and limiting conditions, and are my own personal, impartial, and unbiased professional analyses, opinions, and conclusions.
- I have no undisclosed past, present, or contemplated future interest in the property that is subject of this report, and no personal interest in respect to the parties involved.
- I have performed no services, as an appraiser or in any other capacity regarding the artwork reported on in this appraisal, within the past three-year period immediately preceding acceptance of this assignment.
- My engagement in this assignment is not contingent upon the developing or reporting of predetermined results.
- My compensation for this appraisal is not contingent upon the development or reporting of a predetermined value or direction in value that favors the cause of the client, the amount of the value opinion, the attainment of a stipulated result, or the occurrence of a subsequent event directly related to the intended use of this appraisal.
- I personally inspected the painting which is to be the subject of this report. It was inspected and photographed by me on [the inspection date and where]
- I prepared this appraisal impartially with no significant contributions from another individual [or if other individuals were involved, who they were]. Consultations were completed with several dealers and scholars who specialize in the works of [artist]. Their opinions were regarded along with my comparison findings and research. During this time your privacy was absolutely the utmost concern of mine. Every effort was made to keep the purpose of the appraisal and your identity unknown. Names of who I consulted with are listed in the bibliography.
- This appraisal has been prepared in conformity with and subject to the 2020-21 version of The Appraisal Foundation’s Uniform Standards of Professional Appraisal Practice (USPAP) and written to the current International Society of Appraisers’ Writing Standards.
-
-
Body:
The body of the report includes pictures taken at the inspection, the object’s specific identification information such as size, year created, provenance information, condition, and where obtained. After a thorough description of the object, comparables follow.
Comparables are examples of items that have recently sold or the current asking prices for objects that are either from a same edition or very similar to the work being appraised.
Objects that are no longer being sold in the primary market and are now obtained through a private sale or at auction, are compared to similar sold auction items or sold private sales. In the case of a sold private sale, there are discussions about what a dealer might hypothetically ask if they were to sell the appraised work. If the appraised object is still being sold in the primary market, then there are discussions with the most common market gallery about what the current asking prices are.
Comparables used to determine value are included in the report. I include what they sold for or what the asking price is, where it sold and the date or where it is being sold, a picture of the comparison along with pertinent information about the comparable and comments as to why the comparable was used and how it relates to the appraised object.
Addendum:
The final part of an appraisal report is the Addendum. This is where any information such as the receipts, provenance information, condition report etc. are scanned and inserted into the report. The addendum should always have a bibliography which shows what sources the appraiser used to obtain a value and what experts they spoke to. The final piece in the addendum is the appraisers CV and qualifications for taking on the assignment.
How is the appraisal normally presented to the client?
If it’s for insurance purposes, a PDF of the report is sent to the client. This makes it easier for the client to share with their insurance company and also make as many copies as they might need. If it’s for any kind of federal usage, then several signed hard copies are provided as well as a PDF.
4. What Does an Appraisal Cost:
What should a person expect to pay for an appraisal?
Well, that depends on the function of the appraisal, how many items are being appraised, and the difficulty in researching the object. An ethical appraiser charges by the hour and not a percentage of the value in the report.
There is no set fee for any appraiser. I’ve seen appraisers charge $150 per hour all the way up to $300 per hour. As I said earlier, it seems like one object on average takes 3-6 billable hours from start to finish. With my appraisals, it usually takes longer than 3-6 hours as there is time waiting for communication returns from experts as well time just thinking and analyzing that isn’t charged for. A lot of the research time gets comped.
Is travel time calculated in and if so, how? I.e., what elements are they charged for.
Again, this is something that varies between appraisers. Some do and some don’t, depending upon the distance traveled. When I need to appraise something in another state I sometimes charge for mileage or the plane ticket, but not the actual travel time.
When an appraisal is being done for gift tax purposes, who is responsible for paying for the appraisal?
Whoever the client is. If the gift giver is alive then they are the ones paying for the appraisal and receiving the appraisal. If they are dead then it’s the estate. In that case the lawyer or trustee could be the client.
5. General Questions About Appraisals & Appraisers:
In a formalized appraisal, the appraiser is required to give a single value for an artwork on a specific date, not a range, for the artwork they are appraising. Please explain how this can be done.
If the appraised value is based on an asking price, then it’s pretty easy to give one value. If it’s being compared to many similar sold objects, then those comparisons, after throwing out any outlier comparables (things that sold much higher than expected or items that didn’t sell or were greatly discounted), are averaged to determine one value. There are cases where a range is important but for insurance, most insurance companies require one value, not a range.
How does an appraiser handle the appraisal of an artwork that in Bolivia would sell for $20,000 at auction but in the country in which the appraisal is being done, it has little or no market?
Value in appraising, no matter what the function, is based solely on the most relevant market and where the client is most likely to go if they have to replace the object. This is an important aspect of information gathered at the inspection. If the client travels frequently to Bolivia to purchase for their collection, then Bolivia would be the most common and relevant market for them. Those values can be used. If they would try to replace it in the US, then the values asked for in the US are used.
Do you think it is ethical for an appraiser to recommend ways a client might sell an artwork other than in broad generalities?
When working with clients there are all kinds of additional services they need, whether shipping and packing recommendations, whether or not they should try to sell something privately or at auction, or have a work authenticated or conserved. An experienced appraiser will have worked with various professionals in related fields and can make several recommendations on who the appraiser feels might be the best source for the client in both terms of quality of service and cost.
When I make recommendations, I give at least three relevant options. The client decides who and how they want to use those services.
Do you think it is ethical for an art dealer to appraise artworks for any reason other than insurance purposes?
If a dealer has just sold a work recently to a client then of course a dealer knows what the present value is. If the sale was recent, collectors can use their receipts for insurance value.
Unless a dealer has been appraisal methodology trained, other than an appraisal for insurance purposes, it’s best to use a professional appraiser to make sure the value is correct for the function.
What is the difference between an appraisal and an authentication and how does the appraiser appraise an artwork when they do not know if the artwork is authentic or not?
The big difference is authentication can only be stated by the leading expert in the field or the artist’s estate. This is a tough one these days as many of the artist estates no longer provide authentication services. An appraiser should never authenticate anything unless the appraiser is the leading expert on that artist or an object. That said, the authentication process can be confusing as every artist estate requires completely different steps and fees. An experienced appraiser should be able to help their clients through the process of authentication.
If I have an object that requires authentication, I usually go to a library which contains catalogue raisonnés. A catalogue raisonné is a comprehensive, annotated listing of all the known works of an artist either in a particular medium or all media. It is usually compiled by the leading expert and often in conjunction with the artist while they are alive. These catalogues are very expensive so usually only available through specific libraries or galleries who represent the artist’s works.
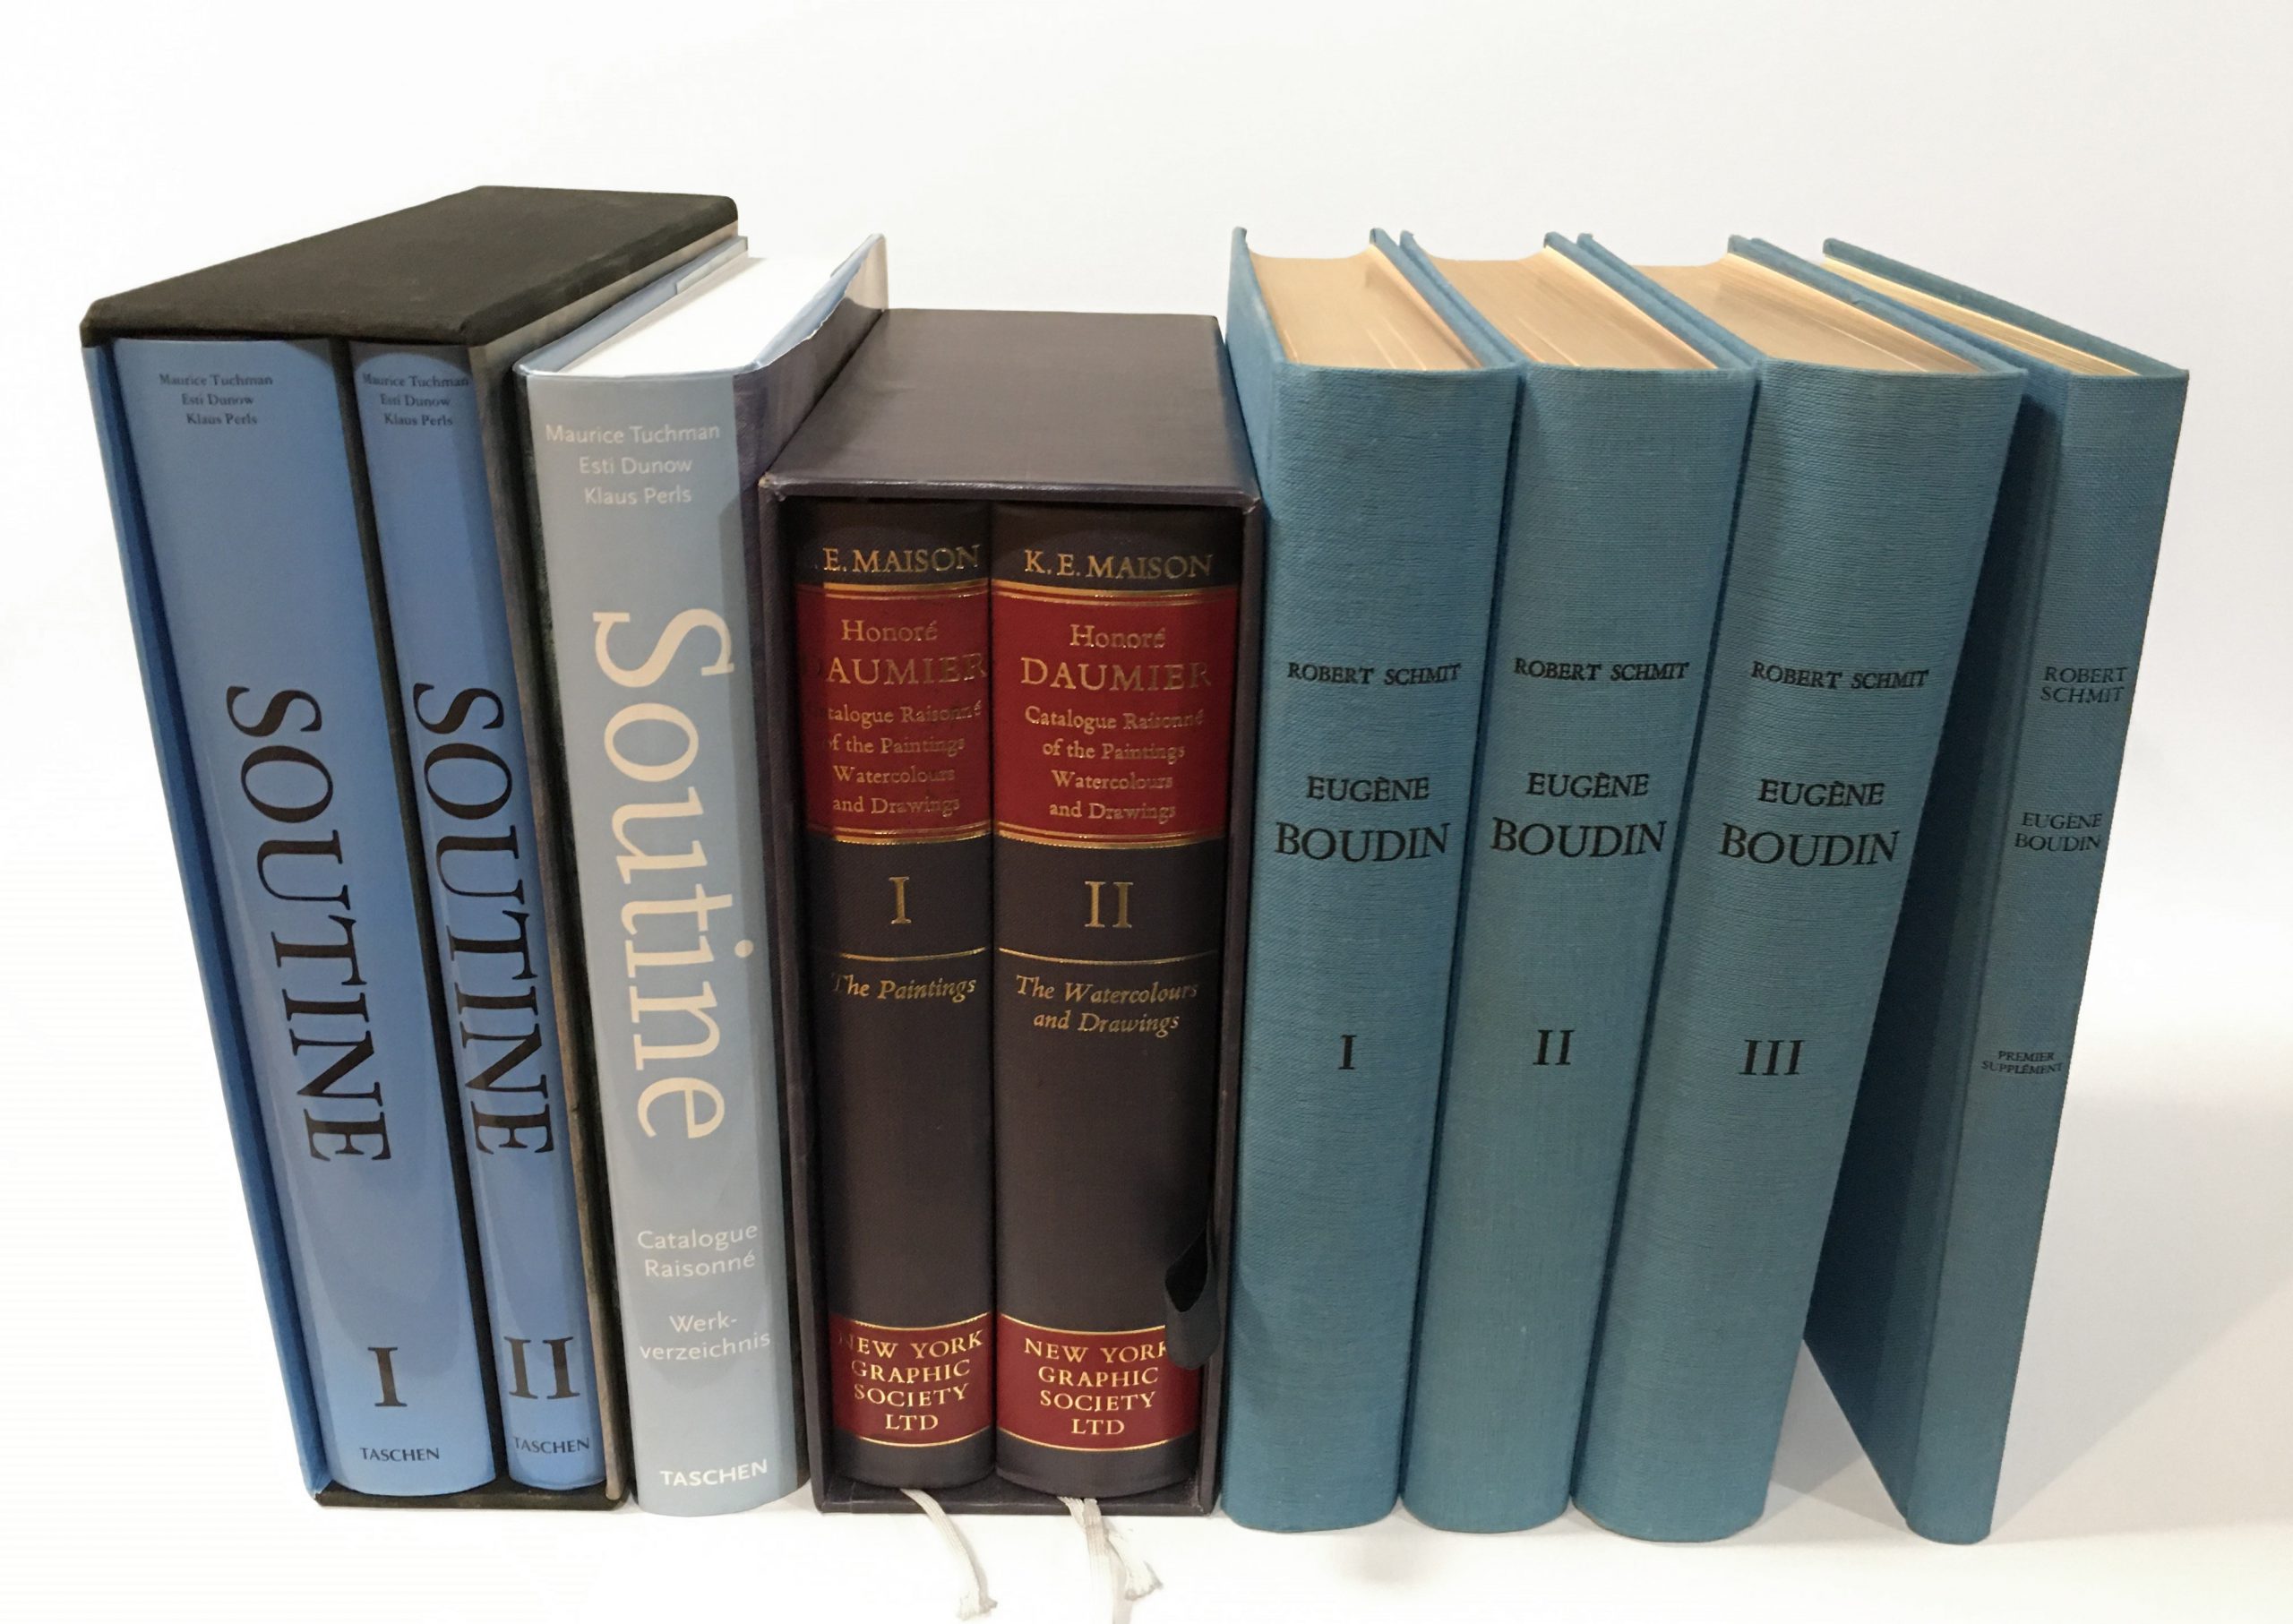
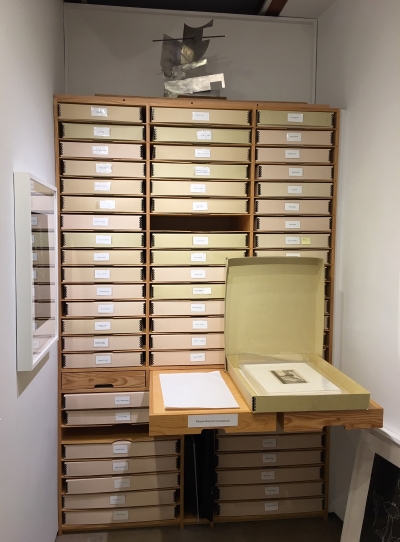
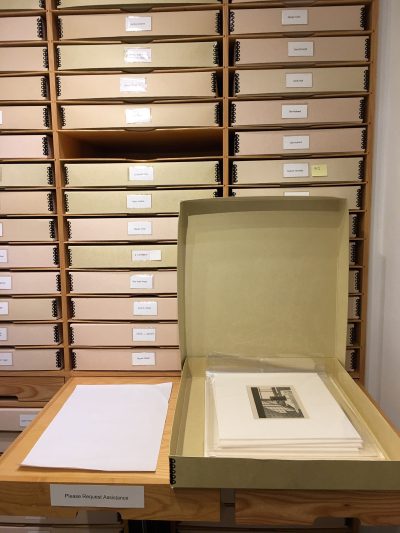
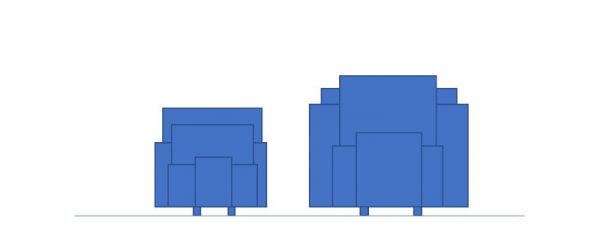
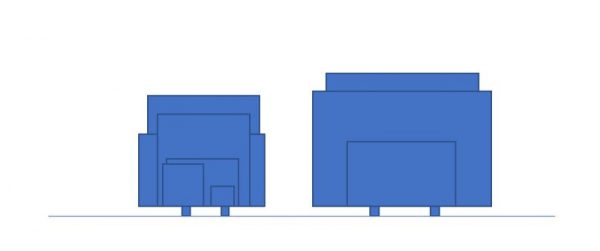
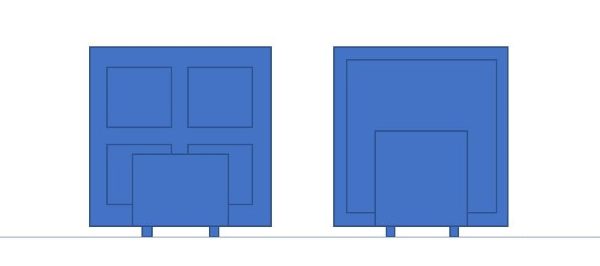
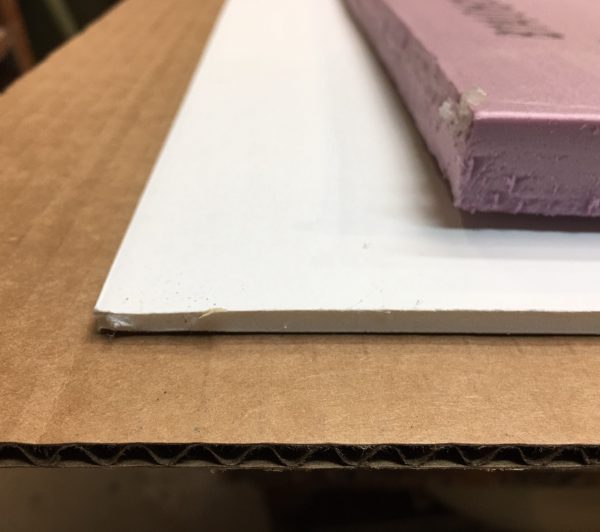
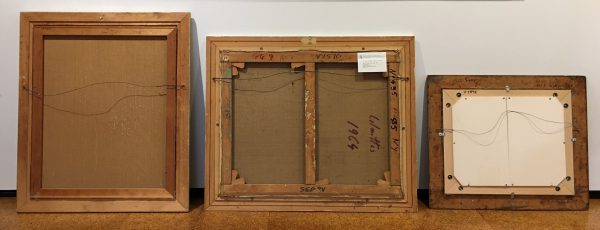
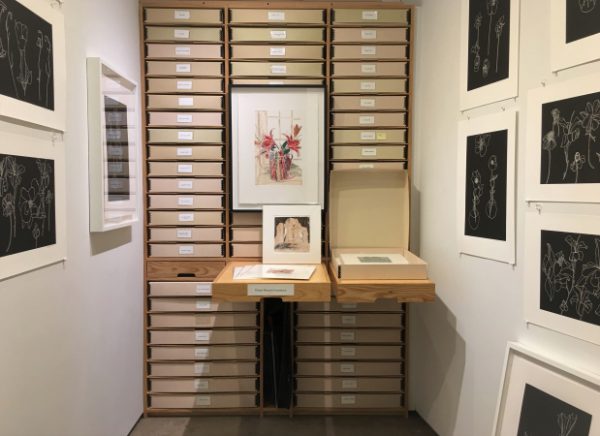
When researching a work, it is best to locate the most current complete catalogue raisonné of the artist that has been published. The assumption is that the scholar that published the newest work has built on the earlier one and has included all the new information that has been discovered or updated since. Once a catalogue is published, the information that is contained within is locked in stone. To add new information, a supplement will have to be published as seen in the case of the Eugène Boudin raisonné that was originally published in three volumes and now has at least three supplements, one of which is seen here at the far right.
The fact that an artwork is included in a catalogue raisonné does not mean it is without question, by that artist. Nor does the fact that an artwork is not in the catalogue raisonné prove it is not. It just means that in most cases, the fact that it is in the catalogue raisonné means that the author thought that there was enough evidence to ascribe authorship to that artist.
I will research an object to see if it is listed in the catalogue. If I can’t find the image in the catalogue raisonné, and believe the work authentic, further research may be warranted. With the help and permission of the client, I then contact the artist’s estate or the leading expert and seek their opinion. This has to be done in cooperation with the client since I am not the owner of the work.
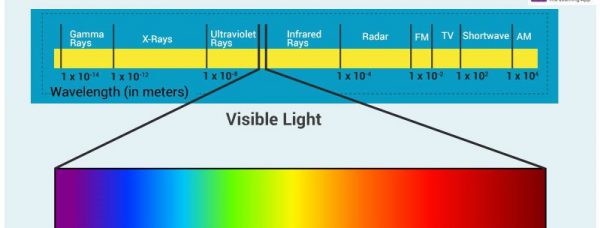
There are multiple and varied charges and rules depending upon the estate. If a client wants the paint, signature, or style analyzed, I can recommend several companies who provide that type of service, but the client has to work with the estate and pay for the services. I provide guidance as to the steps involved. Arrangements can also be made to photograph a work by infra-red photography or black light in order to see under the paint or to determine whether or not a signature was applied to the surface at a later date.
I will tell the client upfront if I think that there is something that red flags the work being problematic. If I think there is any possibility that the work might be fake or forged, in addition, I tell the client up front. I include wording in the report as to what steps I took to determine whether or not I think it’s authentic or not authentic. I include a statement that if for some reason in the future the object turns out not to be authentic, or if it turns out to be authentic in the future, that the value stated in the appraisal is no longer valid and a new appraisal needs to be completed.
Can a museum appraise or authenticate an artwork?
Museums don’t prepare appraisals, it’s a conflict of interest. An appraiser can certainly discuss with a curator whether or not they think the object looks good or something isn’t right about it. Things still have to be authenticated by the estate or leading expert on the subject.
Can an artwork be evaluated after a loss?
Of course. At that point the appraisal is different from a typical insurance appraisal. When something is damaged and the appraiser is working with the insurance company and those involved in either replacing or repairing the work, then a Loss-on-Value report is done to help make the client whole again and determine what amount of loss is involved.
Any last comments?
If I could give a potential appraisal client three take-a-ways, they would be:
-
-
-
- Research your potential appraiser. Ask other collectors for recommendations and talk to the professional requiring the appraisal for recommendations. Interview at least three qualified appraisers and compare their education and experience. Their qualifications should be more important than price of the appraisal being charged. If all qualifications are equal, then you can choose an appraiser based on cost. Make sure they charge by the hour and not the total value of the collection. This assures the collector that items aren’t over-valued just to send the client a higher bill.
- Do provide the appraiser with as much information as you have. Appraisers aren’t cheating by using this information. They are often using the information for identification and to save time in researching an artist they are unfamiliar with. This saves the collector on billable hours. Some of the pertinent information is used in the report to help substantiate value and is referenced or included in the Addendum.
- Be realistic on deadlines. If you are making a charitable donation, don’t wait until a week before Christmas to contact an appraiser. Even in Antiques Roadshow, the appraiser’s need time to research. It just looks like they have all this knowledge in their head and call up a value in a moment’s notice thanks to good editing.
-
-
Appraisers need time to contact dealers and auction houses, research, think about the process and how they want to handle the report. Not every hour spent on your appraisal is billable. It could take up to a month or more for experts to return communications that appraisers need to complete a report. If you are only charged 4 hours for an appraiser’s services, know that it most likely took more hours to actually complete the assignment.
I am very grateful to Christine for taking the time to answer my questions so thoroughly. It is clear from her answers that finding the most knowledgeable and experienced appraiser will normally provide you with the most accurate values for your art.
Epilogue:
There are many factors and variables that affect the value of an artwork and appraisers need to know what is relevant to what they are appraising. Knowing how to read the information in an auction database; having a general working knowledge of artists materials and the mediums they work with and how they interact; understanding the current market for each type of art; knowing what types of damage whether inherent, sustained by age, abuse, or ineptness can occur to each artwork type and how to identify them; knowing how to locate the appropriate experts or authorities for each artist; and being able to discern which factors and variables apply to each work being appraised is the difference between a decent appraiser and an excellent one.
Understand that the value an appraiser places on an artwork is an educated guess based mostly on the factors I have described above. It stands to reason that the more experience in the field an appraiser has had, the closer they will come to zeroing in on a proper value for the purpose of the appraisal. Two experienced appraisers’ evaluations of the same artwork should be very close, but you should not expect them to be exactly the same. The only way to determine the actual monetary value of an artwork at a given moment in time is when the sale of that artwork is consummated and title to the artwork passes from a willing seller to a willing buyer. At any other time, determining that value is a guess, whether educated or not.
*****
To see all available FAE Design Blog Posts, jump to the Design Blog Table of Contents.
To see all available FAE Collector Blog Posts, jump to the Collector Blog Table of Contents.
Sign up with FAE to receive our newsletter, and never miss a new blog post or update!
Browse fine artworks available to purchase on FAE. Follow us on Facebook, Instagram, or Twitter to stay updated about FAE and new blog posts.
For comments about this blog or suggestions for a future post, contact Kevin at [email protected].
Other FAE informational posts you may find helpful:
Fine Art Insurance 101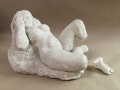
 Practical Tips for Safely Transporting Artwork
 Temporarily Storing Artwork: A Case Study
 Four Artwork Storage Solutions
 Hanging and Framing FAQ’s
 Siting Sculpture, Part One: Overview
 Siting Sculpture: Part Two, A Case Study
 The Importance of a Proper Frame
 When to Use UV Control Glazing
 Reflection on the Problem of Reflections


 Painter/Printmakers